

Install VMware Safely — 6-Minute Guide
TL;DR: Install VMware Workstation (or Player) safely by downloading from official sources, verifying checksums/signatures, creating a dedicated VM user/network profile, enabling snapshots, and isolating untrusted OSes. Don’t run untrusted ISOs without sandboxing.
Why install VMware safely?
Virtual machines (VMs) are powerful — but an insecure VM can leak host data, expose services, or run malicious code. This guide focuses on secure installation and basic hardening so your host system and network stay protected.
What you’ll need
- Windows 10/11, Linux, or macOS host with enough RAM & disk (recommend ≥16GB RAM for comfortable multitasking).
- Official VMware installer (Workstation Pro, Workstation Player) from vmware.com or vendor portal.
- Reliable backup (create host restore point or backup critical files).
Quick visual checklist
- Download from official VMware site
- Verify checksum / digital signature
- Create separate user for VMs (optional)
- Use NAT or Host-only networking for untrusted VMs
- Create snapshot right after clean OS install
- Disable unnecessary host-guest sharing features
Video:
Step-by-step — install & harden
.png)
Always get VMware from vmware.com. Avoid third-party download mirrors. Choose Workstation Pro for full features or Workstation Player for free/non-commercial use.
.png)
Check the SHA256 checksum on VMware’s download page. On Windows use PowerShell:
Get-FileHash -Algorithm SHA256 .\VMware.exe. Match it with the provided value.
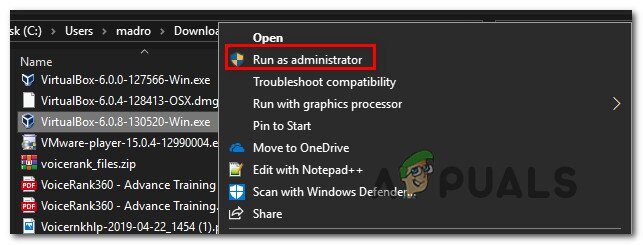
Run the verified installer with administrator privileges. For most users, default install paths are fine. Decline optional bundles you don’t need.
Kali Linux ISO: Get Kali | Kali Linux
.png)
Create a VM with the OS installer ISO from official sources (Windows/Linux vendor). After first clean boot & updates, create a snapshot — your safe rollback point.
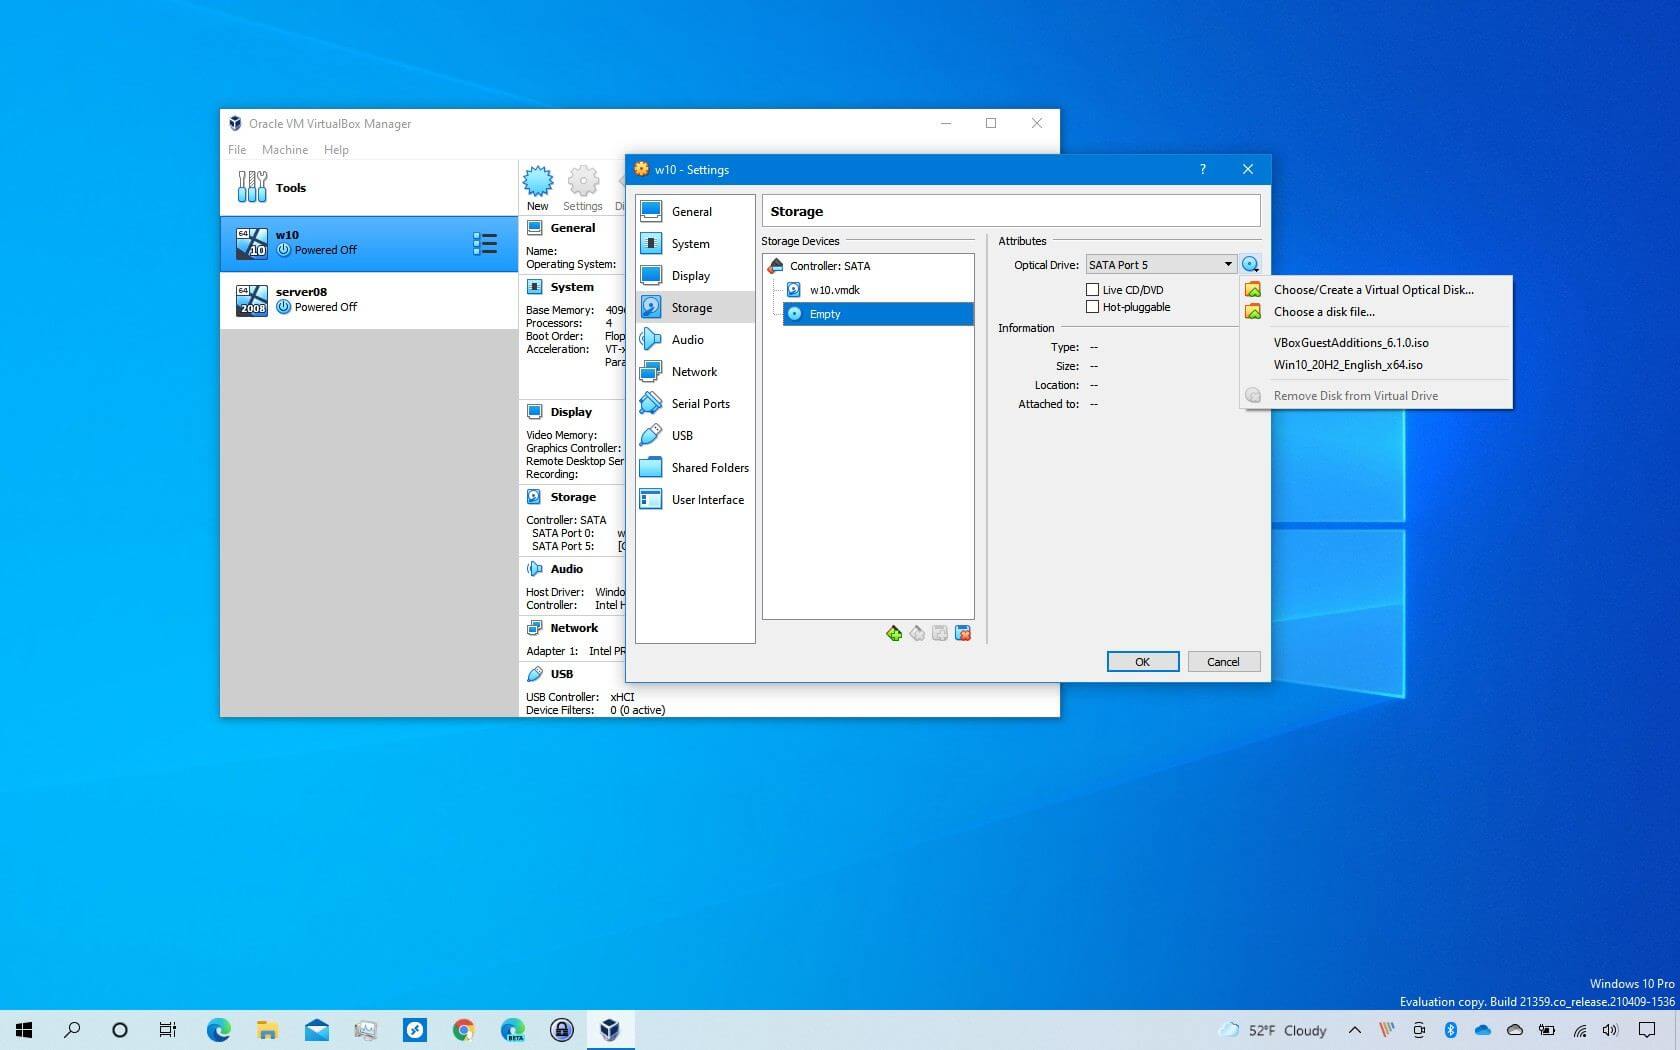
For untrusted VMs use Host-only or NAT networking. Avoid bridged mode when testing unknown ISOs (bridged exposes host network). Limit port forwarding and disable auto-shared folders.
Turn off Shared Clipboard, Drag-and-Drop, and Shared Folders for untrusted VMs. These features can transfer files or credentials between host and guest.
Verify installation & quick tests
- Launch VMware → create a small VM (2–4 GB RAM). Boot official ISO and install.
- Install VMware Tools only if you trust the guest OS and after snapshot creation.
- Check host network: ensure VM network mode is NAT/Host-only by inspecting VM settings.
- Take a snapshot: VM menu → Snapshots → Take Snapshot (name: clean-install).
# PowerShell: compute file hash
Get-FileHash -Algorithm SHA256 .\VMware-workstation-full-*.exe

# Check network interfaces (view VMware NAT)
Get-NetAdapter | Where-Object {$_.InterfaceDescription -like "*VMware*"}
Post-install hardening / good practices
- Keep VMware and host OS patched. Enable automatic updates where safe.
- Use snapshots before risky tests; keep at least one offline backup of important VM disks.
- Use separate VM accounts (non-admin) for testing where possible.
- Limit VM access to host resources (no USB passthrough unless needed).
- Record checksums of downloaded ISOs and installers for future verification.
If something goes wrong
- If VM behaves maliciously, revert to snapshot or rebuild from a clean ISO.
- If host shows abnormal behavior after a VM run, disconnect network, collect logs, and restore from host backup.
- For complex incidents, consult an experienced sysadmin or forensic specialist.
Resources & official links
- VMware Workstation Pro — official product & downloads.
- VMware Support & Release Notes — for checksums and known issues.
- OS vendor downloads (e.g., Ubuntu, Microsoft) — always use official ISOs.


0 Comments